

I’m not a fan of doing math. I’m really not.
In case you didn’t know this about me, I actually chose to take French for two years in college rather than take one year of math. Because apparently taking a foreign language counts? Is math a foreign language? It feels that way sometimes.
Anyways, I forced myself to do some math this week so I could understand baker’s percentages and how they work in bread baking. If you want to read my guide to baker’s percentages, check out my bread blog BreadbytheHour.com.

Percentages sound kind of complicated at first, and I definitely didn’t understand them when I started baking bread a few years ago. But with a little bit of research and a lot of practice, I found that I can customize my own recipes with baker’s percentages now – so I feel like a pro whenever I change the amount of flour or water in a recipe.
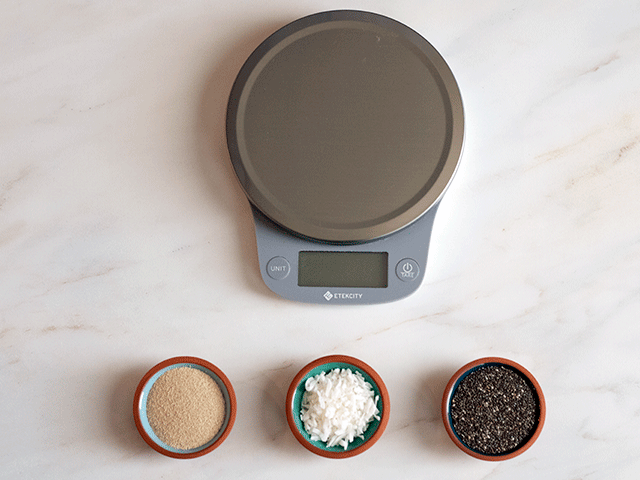
Also, my guide gave me a chance to experiment taking flat lay photos with my new camera. I recently purchased this sturdy photography backdrop, and I’m so glad I did. I didn’t realize that for flat lay photos, you really have to be right above the subject. And to get everything into my shot that I wanted, I had to get up high – like stand on top of a chair in my living room high.
My usual photography table was too high for me to do flat lays – I’d have to get a ladder or something to shoot from above. But with my photography backdrop on the floor, I was able to get the shots that I wanted. And when I was all done, I could just pick everything up off the floor and slide the backdrop under my couch. No mess, no fuss.
I’m excited to do more with my backdrop and see where my food photography adventures take me.


